

How to Host a Node.js App on aaPanel with Wasabi Cloud: A Practical Deployment Guide
A practical, security-first guide to deploying a Node.js application on Ubuntu with aaPanel, PM2 and Wasabi Cloud object storage.

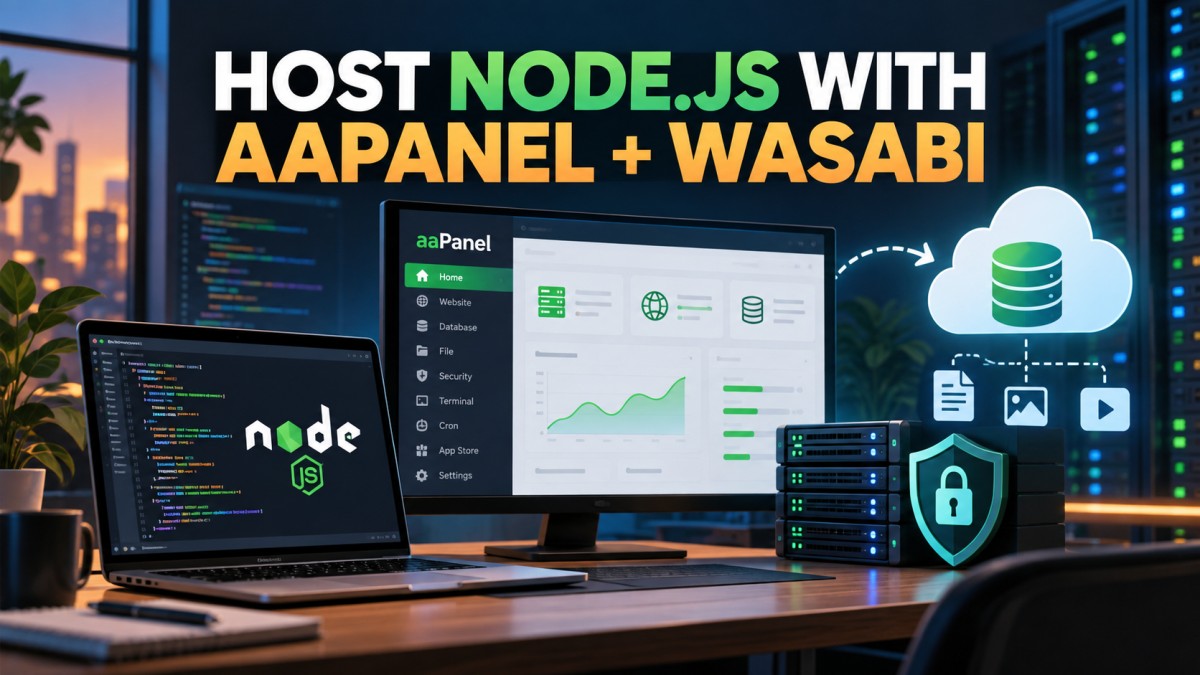
Deploying a Node.js application is more than copying files to a server. A reliable setup needs a repeatable process for domains, environment variables, process management, HTTPS, backups and monitoring. This guide explains a practical workflow using Ubuntu, aaPanel, PM2 and Wasabi Cloud.
What This Setup Includes
aaPanel provides a web interface for websites, databases, SSL and scheduled tasks. PM2 keeps the Node.js process running and restarts it after a crash or reboot. Wasabi can store user uploads and backups without filling the application server disk. These tools solve different problems, so keep their roles separate.
Before You Start
- A VPS running a supported Ubuntu release with a static IP
- A domain or subdomain whose DNS can point to the server
- SSH access with a non-root sudo user
- Your application source code, start command and production environment values
- A Wasabi account and bucket plan appropriate for your data
Keep database passwords, API keys and storage credentials out of Git. Store them in the server environment or a protected configuration file with restricted permissions.
1. Prepare the Ubuntu Server
Connect over SSH, apply security updates and create a separate deployment user if the VPS is still using the root account. Check the firewall and expose only the ports you actually need, normally SSH, HTTP and HTTPS. Disable password-based SSH login after confirming that key-based access works.
aaPanel can simplify routine administration, but a control panel is not a substitute for updates and access control. Use a strong panel password, enable two-factor authentication if available, and avoid installing extensions you do not need.
2. Add the Website in aaPanel
In aaPanel, create a website for your domain and select the Node.js project option when available. Choose a dedicated project directory, then configure the domain and document path. If you are using a reverse proxy, the public web server receives browser requests and forwards them to the local Node.js port.
Do not bind the application directly to every network interface unless there is a clear reason. Binding the app to localhost and allowing the proxy to reach it reduces the exposed surface.
3. Deploy the Application
Clone the repository into the project directory or upload a release archive. Review package.json and identify the production start script. Install dependencies with the lockfile-aware command for your package manager, then build the application if it uses TypeScript, Next.js or another compilation step.
npm ci
npm run build
npm run start
Test the app locally on the chosen port before putting it behind the domain. Confirm that the health endpoint responds, the database connection works and uploaded files are not being written to an unexpected directory.
4. Run Node.js with PM2
PM2 provides process supervision, logs and startup configuration. Start the app with a descriptive process name and define the port through the environment rather than hard-coding it in multiple places.
pm2 start npm --name my-node-app -- start
pm2 save
pm2 startup
The final command prints a system command that must be run with the required privileges. After a reboot, check pm2 status and pm2 logs my-node-app. Set log rotation and remove old logs so they cannot consume the entire disk.
5. Configure Environment Variables
Typical production values include the database URL, session secret, application URL, storage endpoint and bucket name. Use a different secret for each environment. Never place credentials in a public JavaScript bundle, commit them to a repository or paste them into screenshots.
After changing variables, restart the process and verify that the running process received the new values. If the app behaves differently in production, compare configuration names and permissions before changing application code.
6. Connect Wasabi Cloud Storage
Create a bucket with a clear name and decide whether it should be private or public. For user uploads, private-by-default is safer; serve downloads through signed URLs or an authenticated application route. Create an access key with only the permissions the application needs, and keep the secret key on the server.
Configure the Node.js SDK using environment variables. Prefer a stable object key such as users/USER_ID/UUID-filename.ext instead of trusting the original filename. Validate MIME type and file size, generate safe names, and reject executable uploads. Backups should use a separate bucket or prefix and a documented retention period.
7. Set Up the Reverse Proxy and HTTPS
Point the domain DNS record to the VPS IP, wait for propagation, and configure the domain in aaPanel. Add an SSL certificate through the panel, then redirect HTTP to HTTPS. Confirm that the proxy forwards the correct host and protocol headers so secure cookies and absolute URLs work correctly.
Test the site from a private browser window. Check the certificate, login flow, static assets, file uploads and API requests. A green padlock alone does not prove that the application is configured securely.
8. Backups and Monitoring
Back up the database, application configuration and important uploaded objects. A backup is useful only if it can be restored, so schedule a small restore test. Keep at least one copy separate from the VPS and restrict who can delete it.
Monitor disk usage, memory, CPU, process status and error rates. A simple health check that alerts when the app or database is unavailable is more useful than collecting metrics nobody reviews.
Common Deployment Problems
- 502 Bad Gateway: PM2 may be stopped, the port may differ from the proxy setting, or the app may be crashing at startup.
- Uploads fail: check bucket policy, credentials, region, CORS and file-size limits.
- Environment values are missing: confirm the process manager receives the variables and restart after changes.
- Disk fills quickly: inspect PM2 logs, temporary uploads and old backups.
- HTTPS causes redirect loops: verify proxy headers and the framework's trusted-proxy setting.
Security Checklist
- Use SSH keys and a non-root deployment account.
- Patch Ubuntu, aaPanel and dependencies regularly.
- Keep secrets out of source control and browser-side code.
- Use private storage for sensitive uploads and signed access where appropriate.
- Validate uploads and restrict file types and sizes.
- Enable HTTPS and secure cookie settings.
- Test backups and review access logs.
Frequently Asked Questions
Is aaPanel required?
No. It is a convenience layer for server administration. Experienced teams may prefer direct Nginx and systemd configuration.
Should every upload go to Wasabi?
Not necessarily. Small temporary files can remain local briefly, while durable user media and backups are better candidates for object storage.
Can PM2 replace monitoring?
No. PM2 supervises a process, but it does not replace alerting, log review, backups or vulnerability management.
Final Thoughts
A dependable Node.js deployment is a system: secure access, predictable releases, supervised processes, protected storage, HTTPS and tested recovery. aaPanel, PM2 and Wasabi can make that system easier to operate when each is configured deliberately and reviewed over time.
Disclaimer: This article is for educational purposes. Commands and panel options can vary by Ubuntu version, aaPanel release and application architecture. Review your provider's documentation and test changes in a staging environment before using them in production.
Frequently Asked Questions
What's Your Reaction?
 Like
0
Like
0
 Dislike
0
Dislike
0
 Love
0
Love
0
 Funny
0
Funny
0
 Wow
0
Wow
0
 Sad
0
Sad
0
 Angry
0
Angry
0

Software developer with expertise in full-stack web development and financial market analysis, specializing in building tracking tools for trading metrics.







Comments (0)